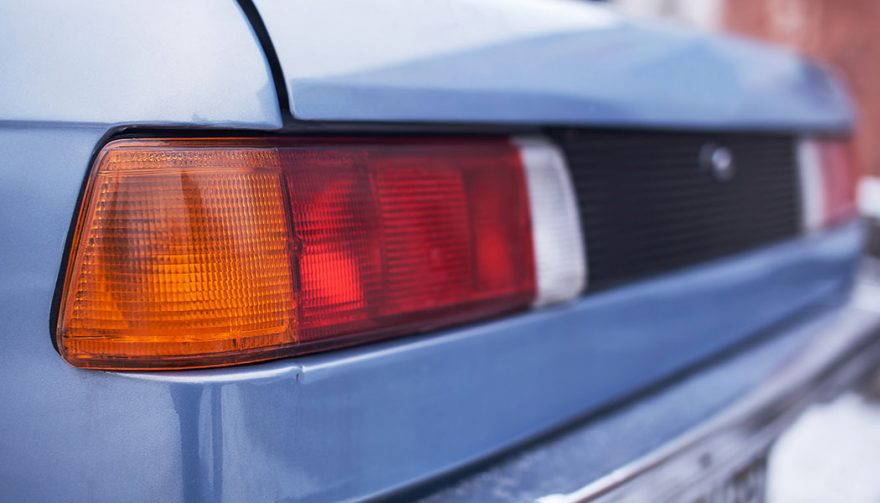
Ad free: some drivers debadge their cars to remove dealership information
Want a Cleaner Look? How To Debadge A Car
People remove the badges from their cars for many different reasons. Sometimes it is done to fool people into thinking you own a higher trim level of a certain vehicle. Or the motivation might be to create a sleeker car, making it difficult to identify your car as the performance version. Still others believe that removing the badges from a car makes it look “cleaner” by providing a smooth, uncluttered exterior appearance. Sometimes it is a matter of wanting to remove the annoying badge that advertises that dealership you never want to visit again. Whatever your reason for wanting to do it, here is how to debadge a car
Have a Strategy To Debadge
You need to start off by assessing the situation. It might be self-explanatory, but you need to think through how many badges you want to remove. Some cars may be designed to have each letter of their name applied as a separate piece, so be aware of that possibility.
While most modern badges are attached with adhesive, some may be bolted on through holes the body. Even though that is a rarity, if you can easily access the backside of the body panel where each badge is attached to, quickly check for rivets or bolts holding it in place.
Removing badges takes some time, especially when you’re learning how to debadge a car. Plan on around 10 to 30 minutes for each badge and clean up. You do not want to rush the job, so make sure you’ve set aside more time than you think you’re going to need, just in case.
Clean Before You Debadge
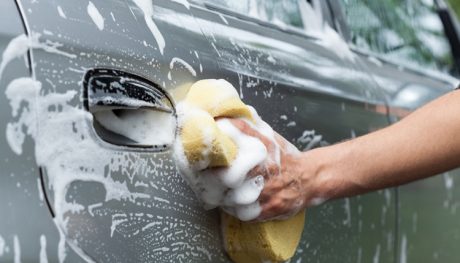
It is important to clean the area around each badge thoroughly as part of how to debadge a car. Otherwise, the debris on the body could damage the paint and finish as you work. Even though it might seem like an extra step, for the best results you need to wash and dry each area completely before continuing.
Heat It Up
To properly know how to debadge a car, you need to defeat the adhesive using heat. But you will need to exercise some caution.
Applying just enough heat will cause the adhesive to soften, allowing you to remove the badge without damaging the car’s paint and finish. There are a few ways to achieve this goal, and you will have to decide which is the best option.
Some say that if a car sits in the hot summer sun long enough, you can just pry the badges right off. That may be true in in a place as hot as Phoenix, but I have never had any success using that method. It may help to work with a car that has been warmed by sitting in direct sunlight.
The method I have used to successfully remove all kinds of badges is applying heat to each badge with a hair dryer. After holding the hair dryer a few inches away for one to five minutes, at the hottest setting, you are ready to try removing the badge.
Instead of a hair dryer, you can use a heat gun, if you have one. Make sure to heat up each badge carefully. Not too much. Excessive heat could damage the paint, so watch for any changes in the area surrounding each badge and stop immediately if you notice anything. And remember the badges will be hot.
Prying Your Badges Off
This can involve just lifting up the edge of the badge with your fingers. You might want to wear gloves because of the heat and the fact that the edge of car badges can be a little sharp. You can use a tool, but you must avoid anything metal so you do not damage the paint or finish. Some people swear by nylon scrapers. Keep in mind that whatever you choose needs to have a point fine enough to get under the edge of the badge, and is rigid enough to pry the badge up.
Some people like to use plastic razor blades. They’re sharp, but should not scratch the paint and finish, making quick work of the debadging process.
Another method is to peel off each badge using fishing line or some other strong, non-metal string-like material. It needs to be thin as possible so it can get behind the badge and do its work. Essentially, it’s like flossing the badges off the car, which sounds strange but is a good method how to debadge a car!
Cleaning Off the Residue
After you remove each badge, some adhesive residue will be left behind. To clean it up, you need to use methods that won’t damage the paint or finish. You can use Goo Gone or similar products, or soak the residue with mineral spirits.
An alternative solution is to get a detailing clay bar. It’s a good material to have on hand anyway, since it does a great job of removing contamination from paint that didn’t come off during the washing process. You’ll need a compatible lubricant to avoid microscopic scratches, which you can buy at the same place you get the detailing clay.
Once the adhesive residue left behind is soft enough, you can scrape or peel it off using your fingers, or non-scratching tools (remember, nothing metallic). After you get the majority of the crud off, you can remove the faint traces with a paper towel or microfiber towel soaked in Goo Gone or equivalent.
Finishing Up
No matter how careful you are, there may still be some scratches or damage to the paint/finish in the area of each badge. Apply a dual action polisher of your choosing to make repairs, following the included directions.
Once you have removed the damage, apply a nice, even coat of wax to the surfaces that were previously covered by the badges.
A potential problem with debadging an older car is that you may be able to see where the badges were, due to the fading effect of the sun’s rays. If you find that is the case, there is not much you can do about it short of repainting. Newer cars are unlikely to have this problem.


